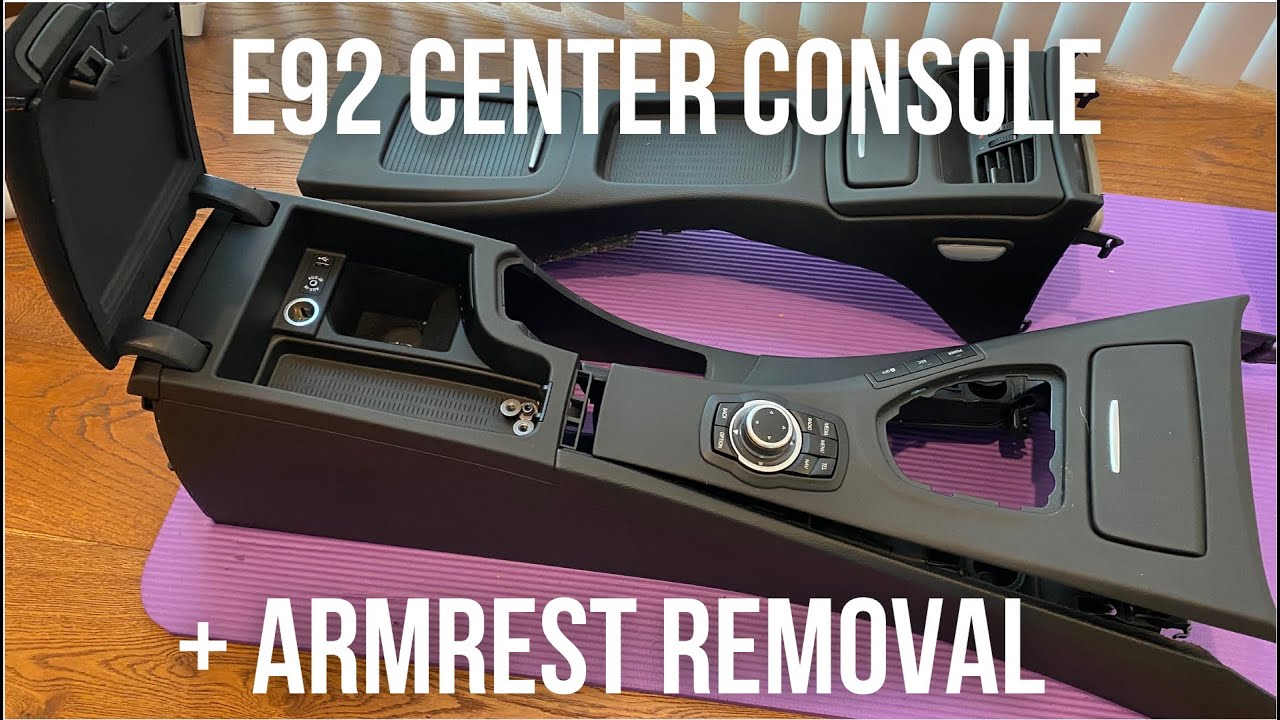
<p>Track day driving exposes every interior component to loads that street driving never generates. Sustained lateral cornering forces, curb strikes, drivetrain vibration, brake heat soak, and constant driver entry and exit over a roll bar or sill all concentrate on the center console armrest. Because it sits beside the driver's elbow and holds a hinged lid, it fails earlier than most cabin trim. Recognizing the symptoms early prevents a loose lid from becoming a distraction at speed—or a projectile in a hard impact.</p>
<h2>Latch and Lid Engagement Symptoms</h2>
<p>The latch assembly is almost always the first component to fail. It is typically a small plastic pawl and spring, sized for gentle street use.</p>
<ul>
<li>The lid pops open during hard cornering, threshold braking, or trail-braking transitions.</li>
<li>Closing the lid requires a deliberate slam instead of a light press to get a click.</li>
<li>The latch releases with no audible click, or the release button feels spongy and vague.</li>
<li>The lid opens on its own when the car is loaded onto a trailer or driven over a rumble strip.</li>
<li>The latch button sticks in the depressed position after release.</li>
</ul>
<p><strong>Practical tip:</strong> Test the latch by pressing down on the closed lid with roughly 10–15 kg of hand force while rocking it side to side. If it releases, the latch is worn beyond service. Replacement latches are inexpensive and usually bolt or clip in without removing the console.</p>
<h2>Hinge, Pivot, and Mounting Point Symptoms</h2>
<p>Hinge failures are structural and produce the most noticeable driving symptoms. Hinge screws on most consoles thread directly into plastic bosses, which crack under repeated vibration and heat cycling.</p>
<ul>
<li>Visible side-to-side or front-to-back play in the lid when it is open.</li>
<li>The lid sags on one side and no longer sits flush when closed.</li>
<li>Cracks radiating outward from the hinge screw holes or the console body around them.</li>
<li>Stripped screw bosses that will not hold torque, or screws found loose in the console well.</li>
<li>A popping or cracking sound when the lid is opened or when the driver leans on the armrest.</li>
<li>Flexing of the entire console body when the arm is rested on it under cornering load.</li>
</ul>
<p><strong>Practical tip:</strong> Inspect hinge screws and surrounding plastic after every track event, while the interior is still hot. Use medium-strength thread locker on fasteners and repair cracked bosses with a metal backing plate rather than larger screws, which simply split the plastic further.</p>
<h2>Noise, Vibration, and Rattle Symptoms</h2>
<p>Noise is often the earliest warning sign and the easiest to miss under a helmet and engine noise. It usually appears before any visible damage.</p>
<ul>
<li>A sharp buzz that appears only at a specific rpm band and disappears above or below it.</li>
<li>Rattle over curbs, expansion joints, and painted apron transitions.</li>
<li>Squeak from plastic-on-plastic contact between the lid, console body, and surrounding trim.</li>
<li>A slapping sound from a lid that has lost its preload and moves vertically in its closed position.</li>
<li>Increased harshness felt through the elbow when resting on the armrest, indicating collapsed padding or a loose internal mount.</li>
<li>Rattles that change or disappear when the armrest is pressed down by hand.</li>
</ul>
<p><strong>Practical tip:</strong> Use temporary felt or foam tape at suspected contact points to isolate a noise. If the sound changes, you have found the source. Permanent fixes are usually adhesive-backed low-friction tape or replacement clips.</p>
<h2>Surface, Padding, and Heat-Related Degradation</h2>
<p>Track cars run hotter interiors than street cars. Heat soak from the transmission tunnel and exhaust, combined with sun loading through a stripped interior, accelerates material failure.</p>
<ul>
<li>Collapsed or flattened foam that no longer returns to shape after the elbow is removed.</li>
<li>Cracks, splits, or separation at seams in vinyl, leatherette, or fabric covering.</li>
<li>A sticky or gummy surface where the top layer has broken down and adhesive has migrated.</li>
<li>Loose or missing trim clips, leaving panels that move independently.</li>
<li>Warping or bowing of the lid or console base from thermal cycling.</li>
<li>Stress whitening—light-colored lines in plastic—around load-bearing areas.</li>
</ul>
<p><strong>Practical tip:</strong> If the armrest is not used with your seating position—common in cars with fixed-back racing seats and six-point harnesses—consider removing it entirely and blanking the opening. This eliminates weight, a rattle source, and a hard object near the driver.</p>
<h2>Conclusion</h2>
<p>A failing center console armrest announces itself through three channels: latch behavior, structural looseness, and noise. Latch and hinge symptoms are safety-relevant because a detached lid can move freely inside the cabin during high-load maneuvers. Noise and surface symptoms are cosmetic until they indicate a broken mount underneath. Inspect the armrest after each event, address loose fasteners immediately, and replace worn plastic components with metal where possible. The fix is cheap and takes minutes—far less than the cost of a distracted moment on track.</p>